"If you've struggled with understanding Expressions, I highly recommend Manuel's course. He breaks down the concepts SO well and the projects are beautiful and motivating. Highly recommend!"
WHY?
Expressions allow you to create animations that you can't set up with keyframes. This gives you an advantage over others. Expressions make you faster and much more efficient. And saving time means earning more money. Once set up, you can reuse and adjust expressions many times in other projects.
HOW? The course consists of video lessons, After Effects project files and an expressions cheat-sheet.
This course is self-paced. Go through the course at your own pace.
Ask questions, get feedback anytime!
WHAT?
We start from zero!
The foundation first: Understand how expressions work.
Then you use basic expressions to create procedural animations.
You use expression controls to manipulate values, create a random sequence with simple shapes, and so much more...
You set up responsive animations that react to your comp size. Create an animation once and use it in any format.
You create a responsive dock animation and responsive grids without any keyframes.
Responsive animations
Create dynamic text animations to produce lower thirds and text animations quickly.
Use effective repetitive techniques to randomly offset animations.
You create a random particle swarm and a spiral animation rig.
Repetitive techniques
A 50+ page-long expressions cheat sheet accompanies you through the course.
+ BONUS CONTENT
Explore how ChatGPT can help you to write expressions.
Create a "blinds" transition rig. Turn it into a template for Premiere Pro.
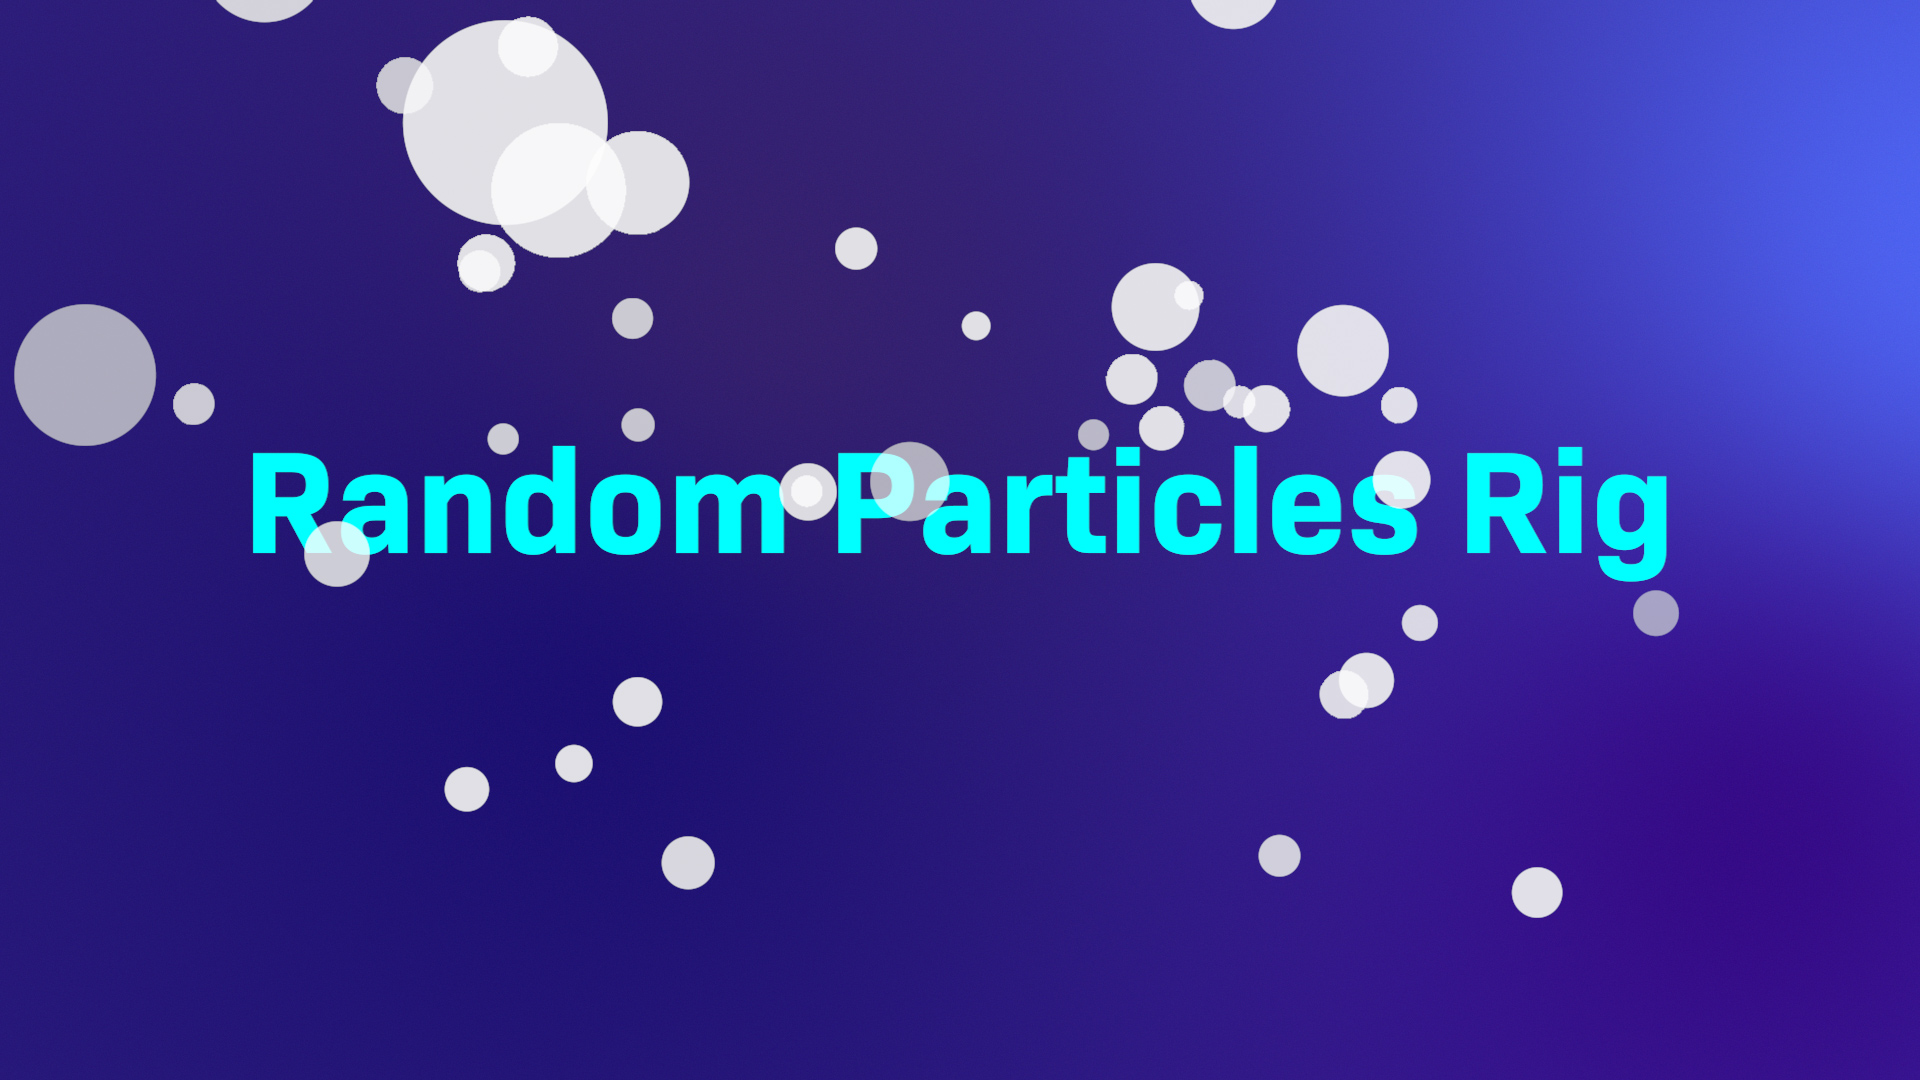
Set up a random particles rig. Control the shape, size, colour, opacity and the movement of the particles.
Create a responsive title intro animation that automatically adapts to your comp size.
Create an adaptive title animation. Add protected regions. Use the file as template in Premiere Pro.
SKILL LEVEL Beginner – Intermediate. You already know your way around After Effects.
IN-DEPTH 5,5+ hours of video instruction. 30 lessons + bonus content
REQUIRED SOFTWARE After Effects 18+ No third-party plug-ins. (I use After Effects 23 in the course)
COURSE LANGUAGE English (Videos: You can turn on auto-generated English subtitles)
MONEY BACK GUARANTEE If you are unhappy with the course, request a refund within 14 days after the purchase and get every cent back.
COMMUNITY Meet your peers, show your work and connect. Get feedback on your assignments in a private space.
If you've struggled with understanding Expressions, I highly recommend Manuel's course. He breaks down the concepts SO well and the projects are beautiful and motivating. Highly recommend!
★★★★★ I had only used a few basic expressions, but had no real depth of knowledge as to how to actually unlock their power. Manuel's lessons are the perfect balance of being in-depth and a good length which makes them not overwhelming and easy to return to when you forget. They also build on each other, so you keep learning by repeating earlier skills. I use expressions now to some extent on all my projects. There are subtle basics that can make animation better and easier. There are problems that I can solve now without having to stop and search for. I absolutely think it was worth taking the course. I liked it so much and it was so packed with info that I plan to do the course a few times! I am looking forward to future courses. Thanks for putting all of this out there into the world!
★★★★★ The course is starting at a small point and building up with each lesson. They were well paced to learn without being so slow that it feels like a drag. Each step was fairly well described as to what you were doing or the purpose behind it. Manuel reiterated many of the small, but important steps (such as the semicolon after each line) that can often get missed. I really felt the knowledge and expertise Manuel has built up. So I think the expression class was well worth it. I liked the addition of the expression cheat sheet to put many on one page as well as a brief description plus examples. It has been a big help.
★★★★★ Manuel has created a fantastic course! I can definitely recommend it. It became clear pretty fast how extremely helpful expressions in AfterEffects are. The lessons build on each other. It starts easily with basic expressions. Manuel explains things in detail. The level of difficulty increases steadily throughout the course with lots of advanced expression tips and tricks! There are a lot of great application examples. With expressions in After Effects, you can for sure save a lot of time in production! It's worth it!
★★★★★ I’m an intermediate AE user. I have a knowledge of basic expressions. I use AE as a hobby to create photo animations and reels. I often get expression errors, and wanted a better understanding of expressions. The course definitely helped. I slowed down the lessons and took notes. Learning expressions is a big time commitment, so I know there is still so much to learn. It’s interesting and enjoyable if you like a challenge and learning new techniques. Never a dull moment! I like the short segment videos. Manuel's knowledge of expressions is impressive. I learned a lot.
I've been using After Effects for almost 20 years. For many years I avoided expressions until I realized how incredibly helpful they are. Since then, they slowly but steadily found their way into my workflow. Now expressions allow me to create amazing stuff quickly. A lot of the animations wouldn't even be possible without expressions. And once set up, you can reuse these rigs lots of times. Looking back, I wish I had realized sooner how incredibly helpful expressions are. Creating unique designs and animations, starting with a black screen is magic for me. As a Motion Designer, I have transitioned between being employed and freelancing several times. I have worked on large-scale projects as an Art Director, and on small projects by myself. I never studied design or animation. Instead, I learned everything I know from online courses, YouTube, Google, and books. Online is the best place to quickly learn things you are interested in. Motion Design is changing so fast that traditional universities and schools often can't keep up.
Curriculum:
MODULE 1: The Foundation We start from zero with tips and tricks for writing clean code. Say hello to arrays, values, and variables. As well as settings and options that you should know. As a warm-up, we create a simple progress bar.
LESSON 1:
The first lesson is about arrays and values. And we go through some settings and options you need to know. Finally, I have some tips for you.
LESSON 2:
We link values to a slider control, use a text layer to display its value, and use the “Math.round” expression to round the numbers. We create a simple progress bar.
LESSON 3:
Introduction to variables. We link properties to each other and use variables to adjust and define values.
MODULE 2: Basic Expressions We go through a whole list of basic expressions like the "wiggle", "time”, “loop”, “linear” and the “random” expression. We use them right away, creating procedural animated backgrounds and textures. We use the type tool in a creative way in combination with the "random" expression. The "random" expression forms a sequence of shapes out of a list.
We animate several shapes with just one Slider Control and refine the progress bar from the beginning.
LESSON 4:
Introduction to the “wiggle” expression. We add it to one and two-dimensional properties and control its frequency with a Slider Control.
LESSON 5:
We use the “wiggle” expression and the 4-Color Gradient to create a procedural animated background. Then we use the Posterize, Turbulent Displace, and Mosaic effects to adjust the style of it.
LESSON 6:
Introduction to the “time” expression. We add it to one and two-dimensional properties using variables.
LESSON 7:
Introduction to the “posterizeTime” expression. We create a procedural animated texture using the “time” and “posterizeTime” expressions in combination with effects. We add scribbled text to it.
LESSON 8:
Introduction to the “random” expression. We explore different ways to use it.
LESSON 9:
We use a text layer and the "random" expression in a creative way.
LESSON 10:
Introduction to the ”gaussRandom” expression.
LESSON 11:
Introduction to the ”seedRandom” expression.
LESSON 12:
We create a list of four simple shapes and use the “random”, “posterizeTime” and “seedRandom” expressions and the “keys” expression to create an infinite sequence out of it. We define a color range to colorize the shapes. I show you a second method using time remapping.
LESSON 13:
Introduction to the “loop” expression, its types, and modifiers.
LESSON 14:
Introduction to the “linear” expression. We use one Slider Control to animate two shapes.
LESSON 15:
We use the “linear” expression to animate several shapes with one Slider Control. We use the “loop” expression to animate it.
LESSON 16:
In the final lesson of this module, we open the basic progress bar from the beginning again and take it to the next level using a lot of basic expressions.
MODULE 3: Responsive Animations We take a look at responsive animations. The idea behind it? Elements aren’t defined by pixel values but respond to the composition size for example. Your animations automatically adapt to any format.
We use the “sampleImage” expression to read out the colour values of a layer.
Shapes respond to the brightness channel of a colour for example and adapt their behavior.
LESSON 17:
In this first lesson of Module 3, we create a responsive transition using the “valueAtTime” expression. The transition automatically adapts to any composition setting.
LESSON 18:
Introduction to the “sampleImage” expression. We use the expression to create a color picker. Then we link it to the fill property of a text layer.
LESSON 19:
We use the “sampleImage” expression to create a responsive dock animation. We use a Gradient Ramp and its lightness channel to influence the scale of a shape. We use the “rgbToHsl” expression to refer to the lightness channel.
LESSON 20:
We reuse the procedural dock animation and create a responsive grid out of it. We add the "sampleImage" expression to the rotation, scale, and opacity properties.
MODULE 4: Dynamic Text Animations We dive deep into dynamic text animations and use the “sourceRectAtTime” expression to read out the width and height of shape layers.
Learn how to align anchor points using expressions and how to build rigs for easy adjustments.
LESSON 21:
Introduction to the “sourceRectAtTime” expression. We use it to return the dimensions of a text layer. We animate a basic dynamic text animation and pin the anchor points of the shapes.
LESSON 22:
We get into some of the challenges you face, like overshoots, ascenders, and descenders, and how to solve them.
LESSON 23:
We add padding to the background shape.
LESSON 24:
We add more expression controls and build a rig.
LESSON 25:
Introduction to the “if / else” expression. We add a second text layer and write an “If/else” statement to get the width of the longest text line.
MODULE 5: Repetitive Techniques We use the "index" expression and the "valueAtTime" expression to create repetitive animations easily and quickly. We create a spiral animation rig, which is easy to adjust.
We delay animations based on a random value.
And we create a random particles swarm.
LESSON 26:
Introduction to the “index” expression. We explore the possibilities of using it with different properties.
LESSON 27:
We create a spiral animation rig using the “index” expression and Slider Controls. Once set up, it is easy to adjust it.
LESSON 28:
In this lesson, we offset animations using the “index” expression" and the “valueAtTime” expression.
LESSON 29:
We randomly offset animations and control the overall time delay with a Slider Control.
LESSON 30:
We set up a random particle swarm. Controlled by Slider Controls and “wiggle”, “random”, “gaussRandom”, seedRandom, and “time” expressions.


.png)


.png)
.png)